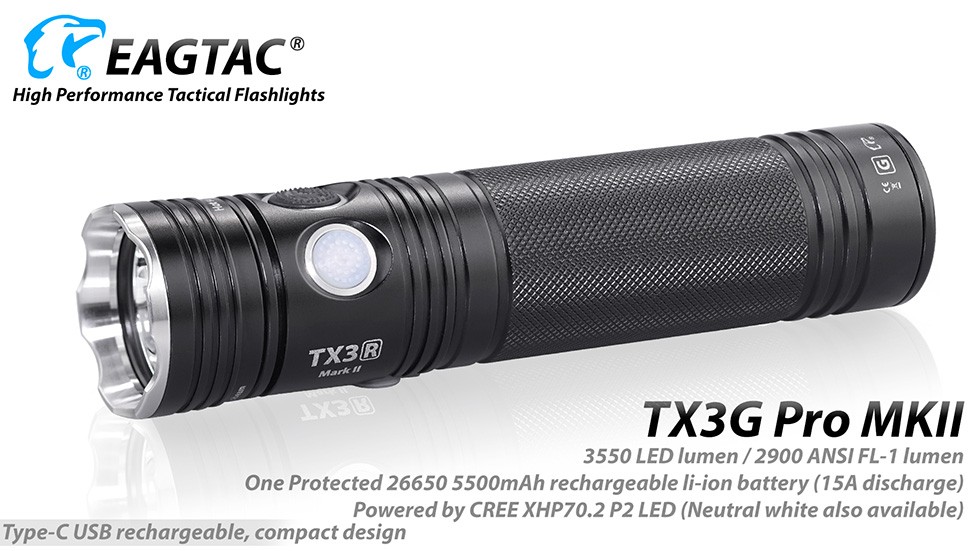
TX3G Pro MKII

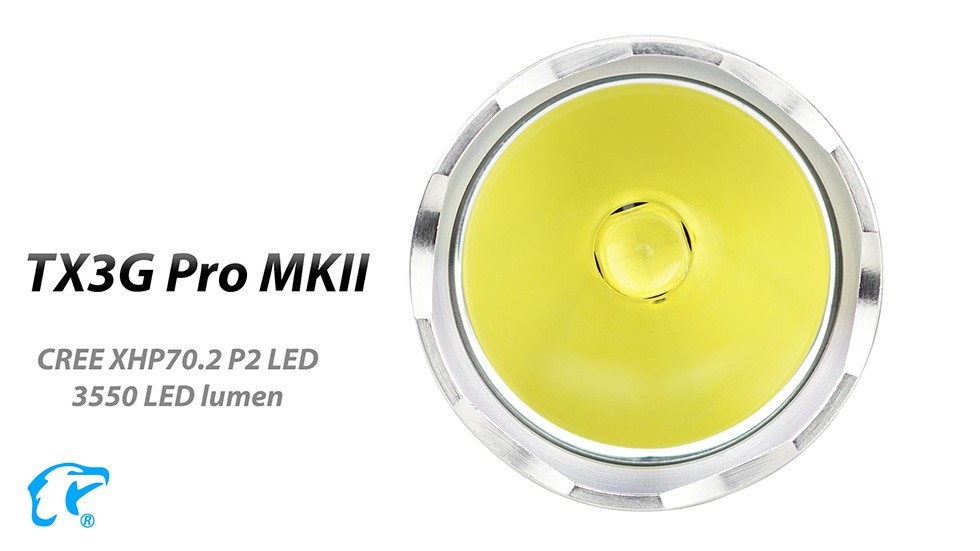
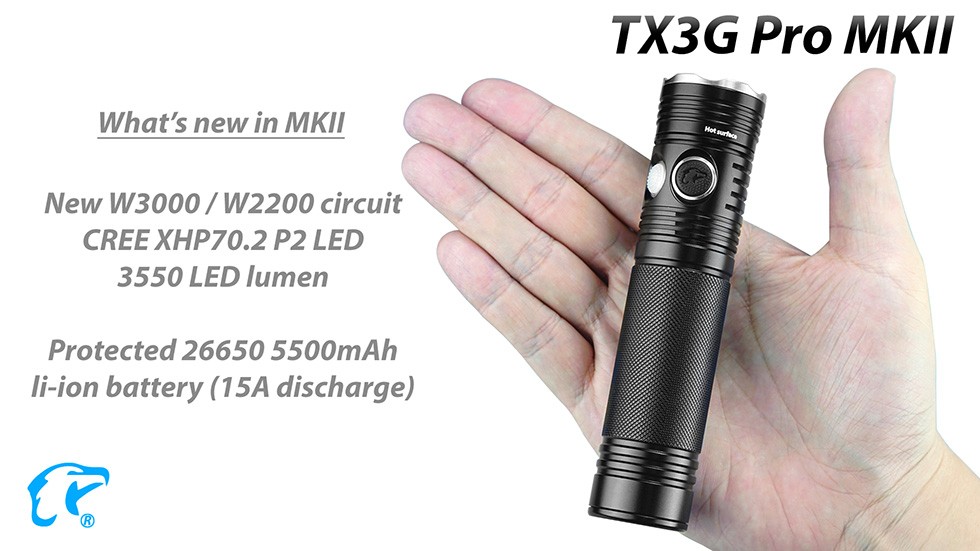
  • 3550 LED lumen powered by XHP70.2 LED
  • Five brightness levels, programmable levels
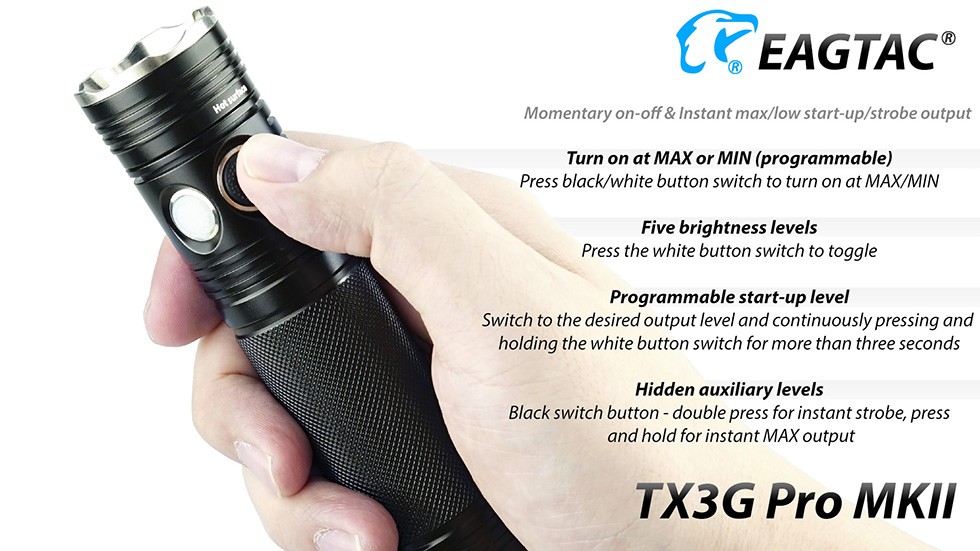
  • Instant on at MIN/MAX level
  • Uses protected 26650 li-ion battery (5.5Ah)
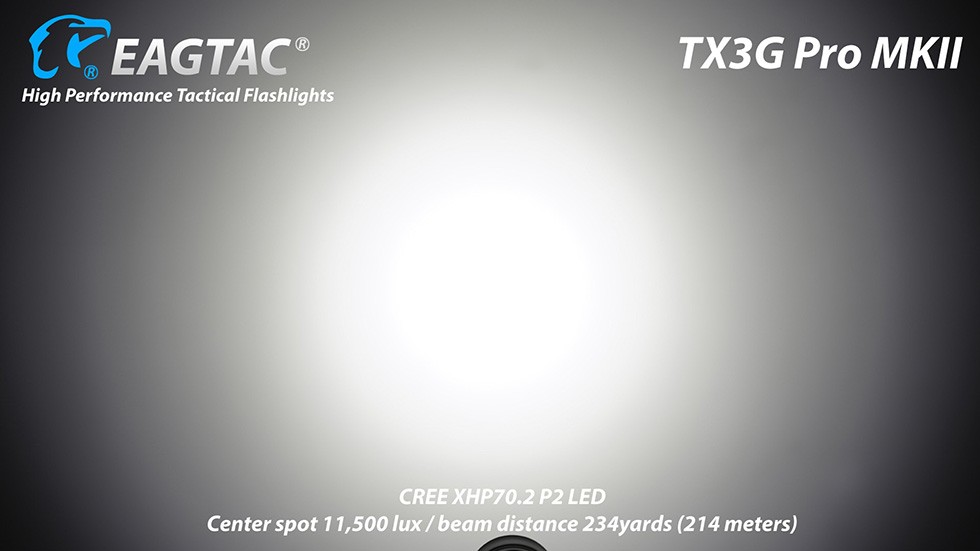
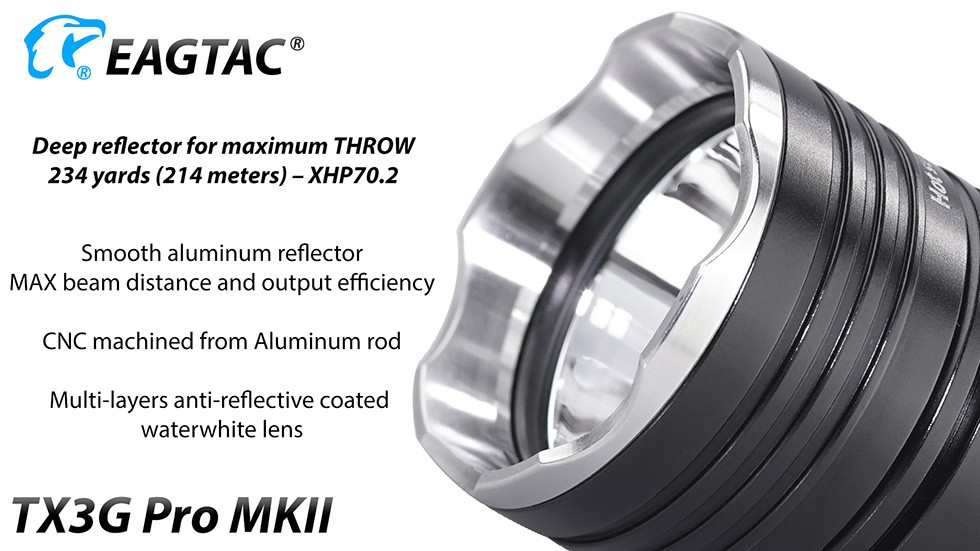
  • 234 yards/214 meters maximum beam distance
  • Up to 1.1 hrs on MAX output, 200 hrs on low output
  • Version: Pro | Base
Compare
Category:

Description

Additional information

Performance
LED

CREE XHP70.2 P2 Cool White LED

Max output

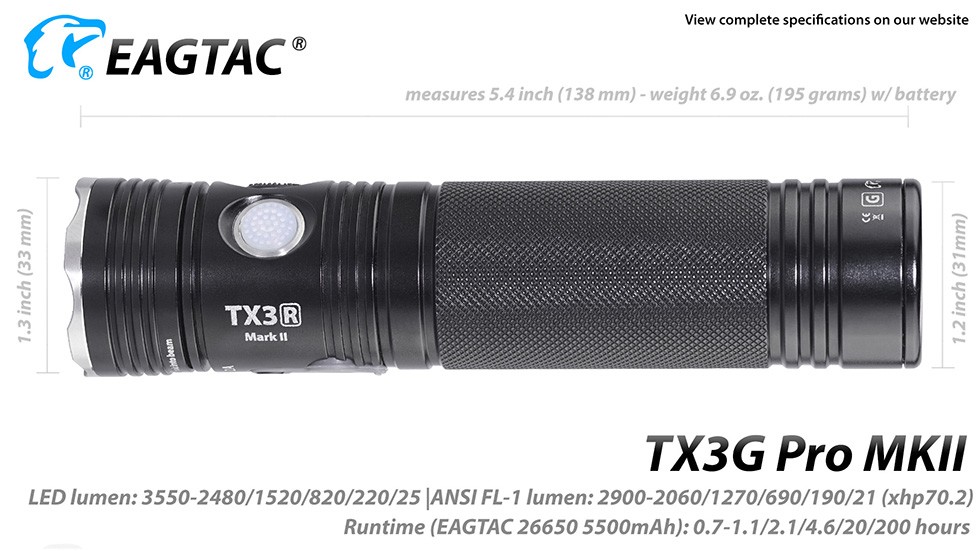
3550 LED lumen / 2900 ANSI lumen

Center lux @ 1 meter

11,500 lux

Beam distance

234 yards / 214 meters

Output levels

3550-2480/1520/820/220/25 LED lumen / 2900-2060/1270/690/190/21 ANSI lumen

Runtime

0.7-1.1/2.1/4.6/20/200 hours

Battery
Battery Type

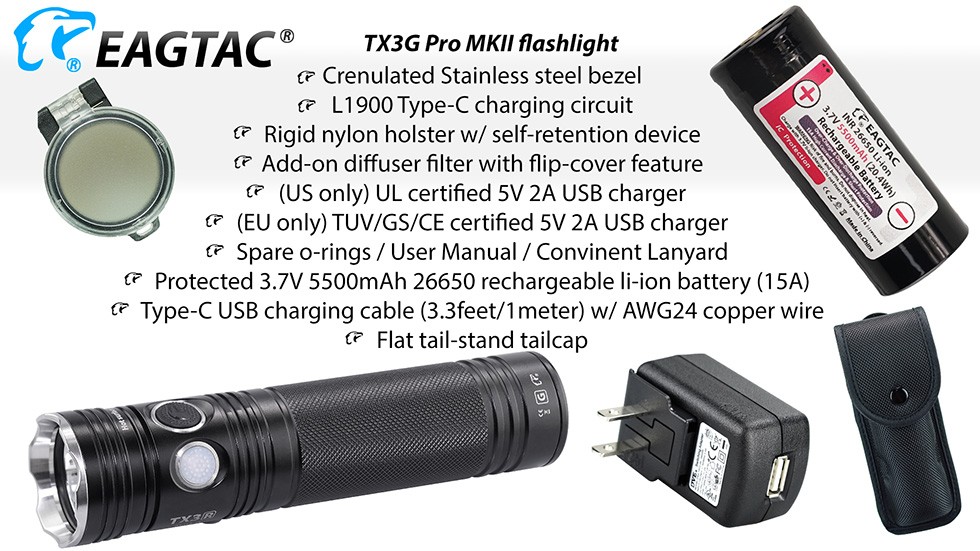
26650*1

Battery included

Yes

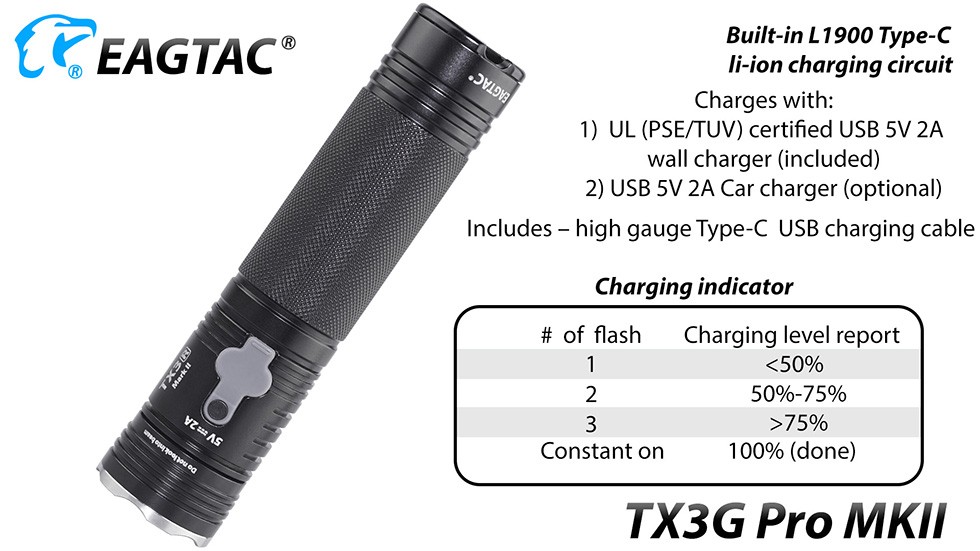
Built-in rechargeable

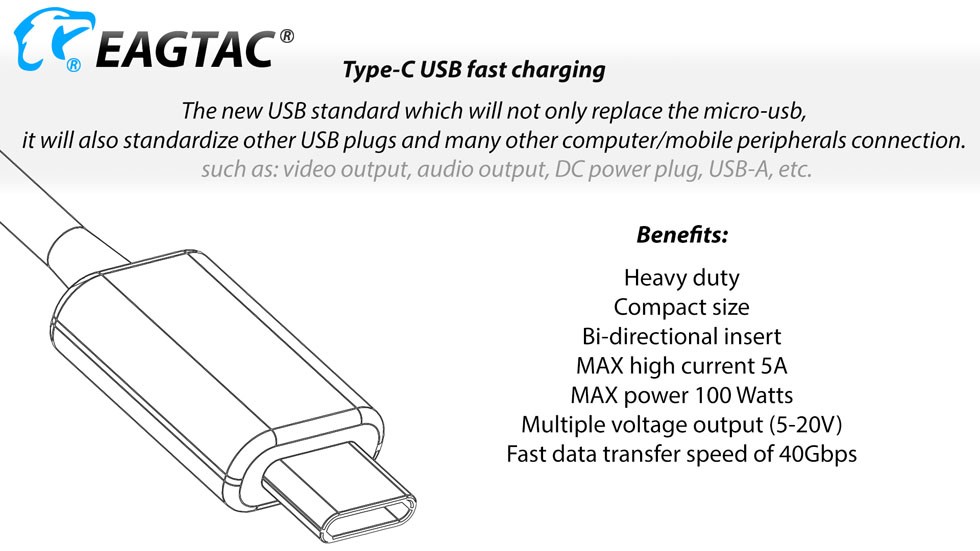
Type-C USB

Operating voltage

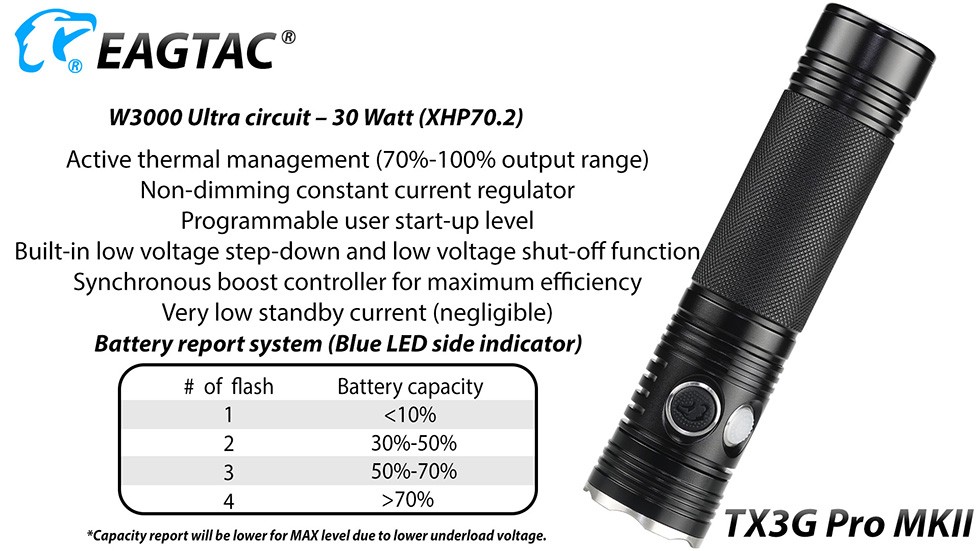
2.7V – 4.2V

Battery requirement

Control
Control Type

Hidden auxiliary outputs

Disorienting Strobe/Beacon (1.67Hz)/S.O.S.

Dimensions
Body Diameter

1.2 inches (31 mm)

Head Diameter

1.3 inches (33 mm)

Length

5.4 inches (138 mm)

Weight w/ battery

6.9 ounces (195 grams)

Constructions
Flashlight Body Material

HAIII hard anodization aerospace aluminum

Lens

Harden waterwhite glass lens with anti-reflective coating on both side

Reflector

Smooth aluminum reflector

Waterproof

IPX-8

Optional LED1
LED (1)

CREE XHP70.2 N4 Neutral White LED

Max output (1)

3302 LED lumen / 2697 ANSI lumen

Center lux @ 1 meter (1)

Beam distance (1)

Output levels (1)

3302-2306/1414/763/205/23 LED lumen / 2697-1916/1181/642/177/20 ANSI lumen

Runtime (1)

0.7-1.1/2.1/4.6/20/200 hours

Picture gallery: Download
User manual: Download


How to use?

Basic operations:

  • Turn on the light at MAX output by pressing the BLACK button switch.
  • Turn on the light at LOWEST (programmable) output by pressing the WHITE button switch
  • For momentary on function, slightly press the tailcap button
  • To turn off the light anytime, press and release the BLACK button switch.


Advanced operations:

  • To program the startup output level, switch to the desired output level and continuously pressing and holding the button for three seconds until the side LED turns on.
  • (Flashlight w/ programmable feature) In rare occasion user may experience the absence of lowest output level from a brand new purchase. If this is case, set the programmable startup level once will initialize the memory setting and will take care of this issue once and for all.
  • For MAX output momentary on, press and hold the BLACK button switch for immediate output.
  • To switch between different brightness levels, press and release the WHITE button switch when the flashligh is on.
  • To enter hidden auxiliary levels, cycle through at least two cycle of regular output.
  • For instant MAX output – at any output level, press and hold the BLACK button switch. Release the button to return to previous level.
  • For instant Strobe output – at any output level (even) off), double press and hold the BLACK button switch. Release the button to return to previous level (or off).


Charging:

  • Remove the waterproof silicon cap and insert the charging power plug to charge.
  • Blue side LED indicates the battery is being charged. It reports charging percentage by blinking.

Includes